For utility companies and contractors, out of sight is never out of mind.
Before excavation begins, crews must locate all buried utilities to avoid costly repairs, delays, or service disruptions. Contractors also need to find pipes damaged by corrosion, cold weather, tree roots, or other causes to repair or replace them.
In both cases, burying tracer wire with water and sewer pipes is a simple, low-cost way to find underground assets.
Tracer wire, also known as locating wire or locator wire, helps trace pipes and other buried utilities.
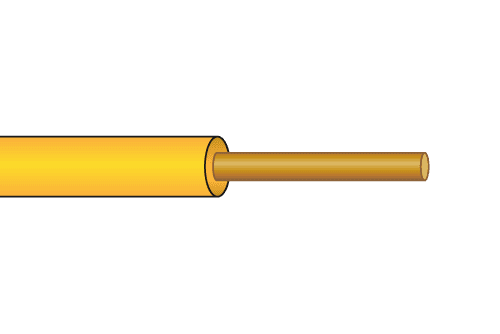
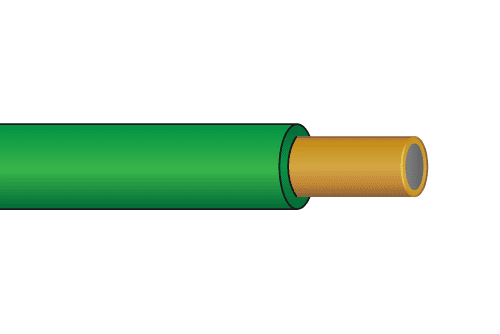
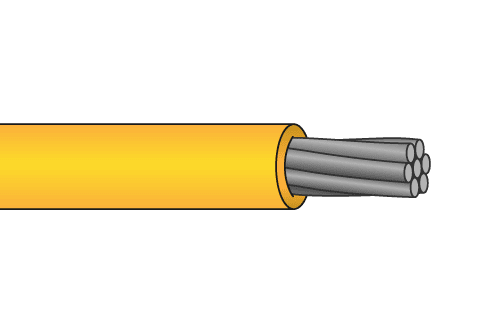
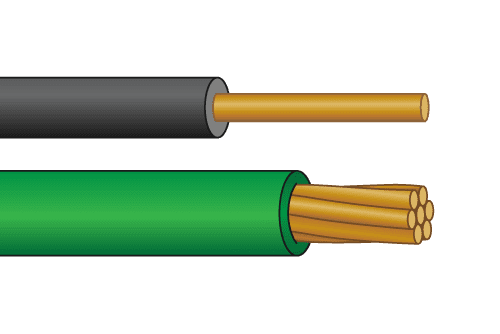
Made from solid copper, stainless steel, or copper clad steel, tracer wires feature HMWPE, HDPE, or PVC insulation types. Insulations come in several colors denoting specific use types. For example, sewer lines require green tracer wire while potable water lines call for blue.
To install tracer wire, crews place it along the length of the buried pipe with an above-ground termination at each end. Once buried, workers use a frequency generator or transmitter to send current through the wire. As current flows through the wire, it eventually reaches the receiver, pinpointing the pipe’s location when crews are locating peaks and nulls.
Just like there isn’t one wire for every application, there isn’t one type of insulation, either. High molecular weight polyethylene (HMWPE) is a common choice for general locating projects, but other options include high density polyethylene (HDPE) and PVC (used for UF cable).
Canadian insulation options are like those in the U.S., including PVC (used for TWU wire), PVC (used in RWU wire), along with HMWPE and HDPE.
Once installed underground, tracer wire is subject to moisture, freezing temperatures, and other environmental challenges. Understanding a few installation best practices can ensure the system performs for the lifetime of the pipe.
As the old saying goes, “failing to prepare is preparing to fail.”
Before diving into an underground installation project, take time to get all the information to be successful. What size conductors does the project call for? What APWA-coded color should the wire be? What break strength is needed to get the job done?
These may seem like obvious questions, but the truth is they’re incredibly important to getting the project done safely. The tracer wire we use to find underground utilities is not the same as the wire used for pipe bursting. Using the wrong wire could result in overkill for one job or underestimating on another.
Knowing where to install tracer wire on the utility goes a long way toward properly tracing it in the future.
Place the wire in the trench alongside the wire, either in the 3 or 6 o’clock position. No matter where you or your crew decide to install the wire, BE CONSISTENT with its placement.
If the placement is constantly changing, it may be more difficult to pinpoint the pipe’s center, leading to mistakes. If possible, engineers should write wire placement into the job specifications or project blueprints. If that isn’t possible, utilities or installers can create a rule to ensure consistency across the board.
Terminating tracer wire properly is crucial to successful installations.
Copper wire ends may corrode over time, thanks to exposure to harsh conditions. Installers should always use purpose-built, waterproof connectors to terminate wires. By using the right equipment, the wire maintains its integrity, even after years underground.
Virtually every city and town has published tracer wire specifications. Those specifications include everything from wire and jacket types to details outlining how to install the wire.
Contractors should review and follow their local guidelines carefully to ensure the installation’s long-term safety. It also helps installers avoid failing inspections and the need to change or redo their initial work. A short pre-construction meeting with local authorities will generally help clarify any gray areas (such as approved equal) before installation begins. If you have more questions, reach out to Kris-Tech or talk with an engineer.
In some jurisdictions, authorities may partner with wire manufacturers to offer training and certification classes based on local specs. The training can save critical time on the jobsite and prepare installers to perform the work correctly.
The last step may be the most critical one of all. After installing the tracer wire, a municipal representative and the contractor should perform a locate test before signing off. If something is wrong in the system, it’s best to catch it before burying the system.
Sure, it’s expensive and time-consuming for contractors to dig and fix tracer wire installations when something goes wrong. But it’s a much better alternative to not finding a water or sewer pipe before excavation or repairs.
We’ve covered the basics, but there are a few other tips to keep in mind during the installation process.
We suggest electrical circuits have a ground to complete the circuit and work properly. Poor grounding often leads to bad locating because the signal doesn’t leave the transmitter.
Ground dead ends or terminations by attaching them to grounding stakes or grounding rods made from copper, zinc, or magnesium.
Many cities and jurisdictions use ductile iron pipes for sewer and water utilities.
As the name suggests, ductile iron is a high strength cast iron alloy with abrasion, corrosion, and impact resistance. Though one might assume the cast iron pipes should be easy to find without tracer wire, that isn’t the case.
Ductile iron pipes are often either encased in Polywrap or buried and grounded. Either condition can distort transmitter signals and make pipes difficult to find.
Installing tracer wire is an inexpensive means to help crews quickly find buried ductile iron pipes.
Utilities and contractors can save time, money, and repairs by using tracer wire on buried water and sewer pipes.
Employing best practices to install tracer wire ensures crews can find those underground assets for years to come.